Call Barging: How Call Center Managers Use Call Monitoring Features
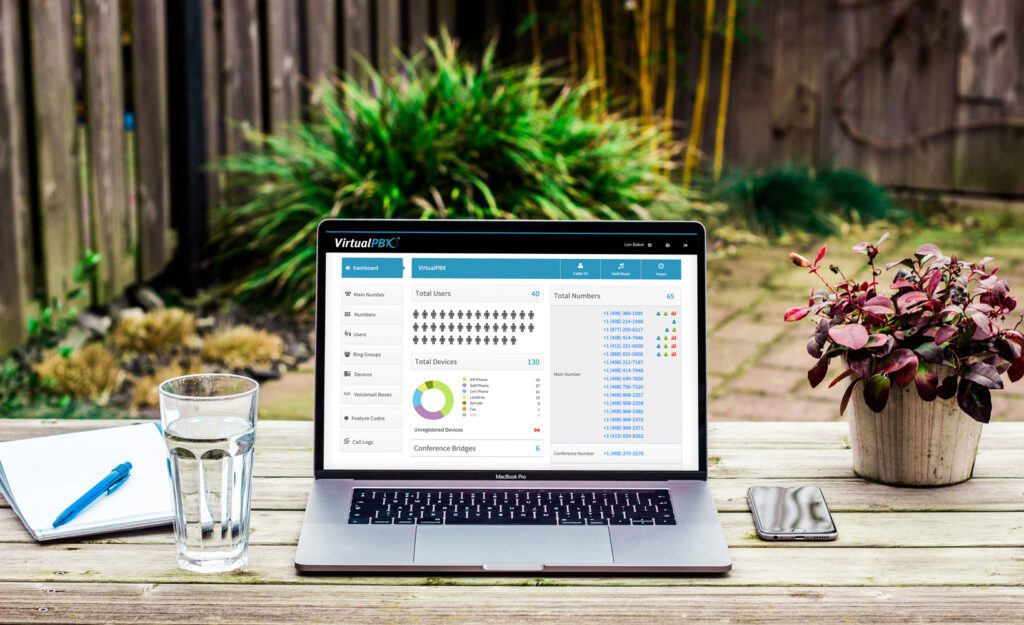
Call Barging Explained: A Look at All Call Monitoring Features Not every inbound sales or customer service call goes smoothly, and even small teams can benefit from the same tools
Call Barging Explained: A Look at All Call Monitoring Features Not every inbound sales or customer service call goes smoothly, and even small teams can benefit from the same tools

“Laissez les bons temps rouler.” That’s right, let the good times roll this Mardi Gras. As a business showcasing Mardi Gras deals and specials, this is a perfect opportunity to
Earlier today, we announced our anticipated November product release, delivering a powerful combination of browser security, detailed analytics, and real-time monitoring tailored for small and medium businesses. This release introduces:

What Are Automated Phone Surveys? Automated phone surveys are a common tool businesses use to collect feedback from customers. They are affordable, quick to implement, and provide a direct line

With our October feature release, VirtualPBX is thrilled to unveil the latest set of features designed to elevate your business communications by enhancing efficiency, customer satisfaction, and security. Whether you’re

For school administration teams, the month of August is one of the busiest. Staff are returning to the building, new hires are onboarding, and at some point, students will return

The US Department of State announced the official start of the Atlantic hurricane season. According to the National Oceanic and Atmospheric Administration (NOAA), the peak months for hurricanes are from August
Are your remote work communications summer ready? Summer brings a unique set of remote work communication challenges and opportunities for businesses. As the days get longer and warmer, employees often

When the tax season rolls around, businesses are faced with the crucial task of meeting their tax filing deadlines. Each entity, whether it be an S Corp, Partnership, LLC, C
In the business world, every interaction counts. Whether you’re reaching out to potential clients, following up with leads, or connecting with existing customers, the ability to connect effectively is crucial.

In the fast-paced and ever-evolving landscape of modern business, effective communication stands as an indispensable cornerstone. Whether you’re a small startup navigating your initial forays into the market or a

In the rapidly evolving landscape of contemporary business communication, the imperative to stay ahead transcends mere aspiration—it has become an indispensable necessity. VirtualPBX, an industry trailblazer in cutting-edge telephony solutions,